First steps and first files
This entry is part 2 of 9 in the series: Understanding and using Sass
- Working our mockup with Sass and Susy
In order to better understand the implementation of everything we have seen so far, including the use of Sass, we are going to deploy a real workflow by really relying on the implementation of a site.
- First steps and first files
After having seen all the concepts that are interesting to discuss at the same time as Sass, it is important to start to draw up our first files and our first lines of code in order to put all this in activity.
- How to distribute partial files
SassScript goes well beyond the simple use of variables or mixin, we will explore an approach to work with a much more successful template to design our site or application development.
- Setting Sass with Compass
Although Compass is no longer maintained, we will see an approach that uses it and allows us to continue to benefit without compromising our productions.
- Install and prepare Sass for production
Working under Ruby is a real panoply that we have under the mouse. Let’s see how to install all the facets that can be very useful to us.
- Deploy Sass effectively
Since democratization and the use of preprocessors, various concepts, mainly based on object-oriented programming, have emerged and allow us to approach Sass in a very modular way.
- Sass – The compilation and tools available
Although Ruby is a very open and scalable approach, there are various ways to compile Sass in CSS, all of which can present their interests and benefits.
- What is Sass – Introduction and presentation
What is a preprocessor and what is Sass? This post will introduce those basic concepts and what can be expected from such a technology.
- Understanding and using Sass
This present series will not cover Sass syntax, but will look at how to use Sass and develop concepts allowing us to exploit the best of the possibilities Sass has to offers.
Two situations are encountered when working on a project of websites or web applications. Either the site already exists and then we have to adapt to the architecture used and set up, or we create the site and so we start from a blank page with all freedom of architecture.
In either case, everything we have seen through the preceding chapters and articles will be able to be applied. It will be necessary simply to prepare the architecture for the sites already in place in order to exploit the capacities of Sass.
Fine-tuning the configuration file

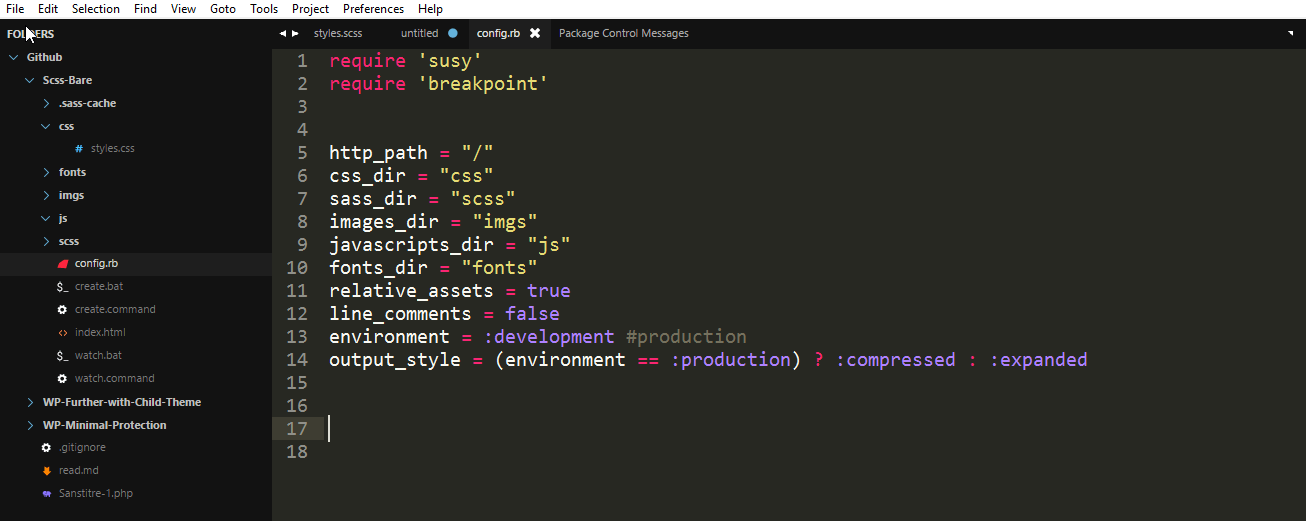
The config.rb file can be refined by setting and adjusting a number of properties. All of these properties are related to the Ruby environment and you can analyze them all by moving closer to the Ruby-based Configuration Reference page.
An almost unavoidable setting is going to be to define the mode of work of the project, are we in development or in production? To do this, simply set the environment variable to the development value (default value) and switch it to the desired time in production.
Caution this variable initializes in the config.rb file use to set up and parameterize compass, and it is necessary to restart the watch instruction to obtain the taking into account.
environment = :development; # :production
Of course, it is possible to go much further, and if you wish we could open a new series on this subject. In the meantime, do not hesitate to get closer to the article – Sass-based Configuration Options.
Setting up Debugging Utilities
At the very beginning of CSS, when switching from what were still called tableless sites, Christopher Schmitt proposed using red borders, with space margins, on the <table> tags, so that they can be quickly distinguished, And locate them, in the rendering of the pages.
We can also use Sass with a Sass page containing a number of utilities as suggested by Ire Aderinokun in his article Linting HTML using CSS.
This approach can be complemented with many other tools that will help us debug or improve content. And then again Sass can be used to link these tools only in development mode.
Then, thanks to the previous environment variable, we can directly filter within the imported files, and in particular the file _sass-debug.scss, the set of declarations that will be useful, or not.
@if (compass-env() == development) {
  // all declarations
}
In the same way, consider changing the output style parameter directly from the config.rb file, adapting the value according to the environment variable.
output_style = (environment == :production) ? :compressed : :expanded
This will reduce the change to single-step production, change the value of the environment on :production.
environment = :production
Define the main variables
Always at the level of the variables, it is also the time, if necessary, to set the set of default values of certain helpers or mixins from external libraries like compass, bourbon, neat, to name … For example, here are some values dedicated to compass mixins border-radius and box-shadow,
$default-border-radius : 4px;
$default-box-shadow-color : #656565;
$default-box-shadow-h-offset : 3px;
$default-box-shadow-v-offset : 3px;
$default-box-shadow-blur : 5px;
$default-box-shadow-spread : 0px;
Set up a color chart

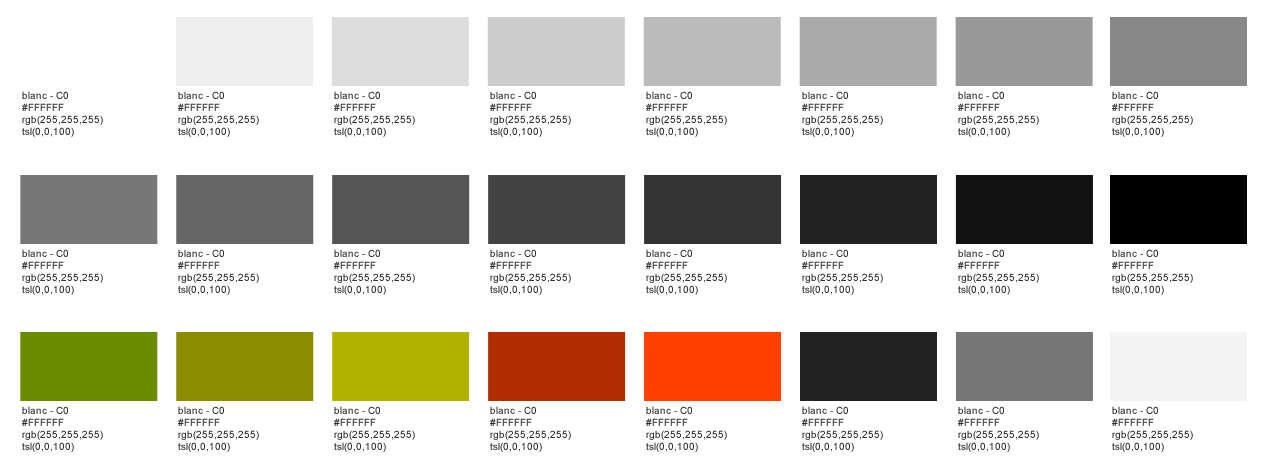
Before starting to type in the scss, it is recommended to fill the set of default values, and various variables including color that will be used. The graphic and color chart provided by the designer.
Two sites that can not be ignored on the color side, rgbto and Adobe Color CC, and without forgetting the Copic Ciao swatch.
Although white, black and gray levels may be standard, it is nevertheless good to define them through variables in order to refine them if necessary, such as lightening or darkening them according to the needs.
Read the excellent article by Jake Albaught, Using Sass functions to access variable maps and one of his sources of inspiration Tom Davies article – Friendlier colour names with Sass maps.
In order to define the set of color values necessary for the creation of the web site or application, we can use, depending on our approach, either the use of independent variables, using a prefix if necessary according to the category
$coul-texte : rgb(63, 81, 98);
$coul-liens : rgb(0,89,178);
$coul-blanc : rgba(255, 255, 255, 0.75);
$coul-noir  : rgba(0, 0, 0, 0.6);
Either by regrouping them through a map, which of course can contain other maps, in order to be able to classify each type of values by categories. Caution, however, not to make the reading of nested maps too verbose.
$coul:    (
  texte: rgb(63, 81, 98),
  liens: rgb(0,89,178),
  blanc: rgba(255, 255, 255, 0.75),
  noir : rgba(0, 0, 0, 0.6)
);
In order to recover, or work with the values of a map, it is then enough to use one of the many available functions, for example;
body {
  color:map-get($coul,texte);
}
Prepare and parameterize fonts

By retrieving the data from the graphic chart, it is possible to prepare the use of the various fonts that will be needed. The most important is the preparation of sub-settings.
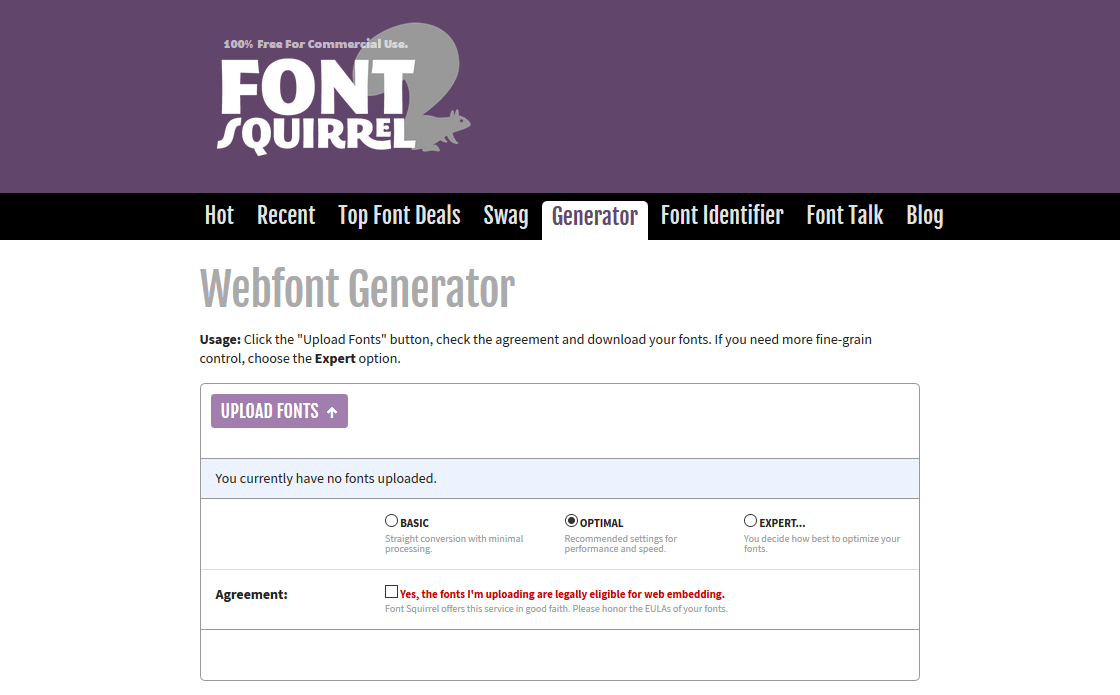
To do this, once you have secured the exploitation rights of the various typos and fonts, it is enough to go on the Webfont Generator proposed by Font Squirrel where since the sending of a font in * .otf, or in * .ttf, it is possible to retrieve the entire necessary package.
Do not hesitate to use the expert mode which gives you access to all the fine settings, to optimize the best of the game.
Once the various fonts are retrieved, they must be grouped by fonts by placing them in a folder separate from the folder make the site tree. Be careful to give a name to the folder that is web safe, and that it is indeed the folder fonts described in the file config.rb.
Jonathan Neal has set up an interesting mixin font-face helping us to write and complete the font-face. It is better suited than the one proposed by Compass. Let’s add it and use it for fonts that come in four fonts, extrabold, bold, regular and light.
First, we need to import the libs, then include all the needed fonts, and passing arguments to affine each settings. Here is the Sass approach :
@import "vendors/mixin";
@include font-face( "opensans_extrabold", fonts/opensans_extrabold_french, 400, normal, eot ttf woff svg);
@include font-face( "opensans_bold", fonts/opensans_bold_french, 400, normal, eot ttf woff svg);
@include font-face( "opensans_regular", fonts/opensans_regular_french, 400, normal, eot ttf woff svg);
@include font-face( "opensans_light", fonts/opensans_light_french, 400, normal, eot ttf woff svg);
And the CSS obtained once compiled: (Only one instance is presented, in order to minimize the space occupied)
@font-face    {
  font-family: "opensans_extrabold";
  font-style: normal;
  font-weight: 400;
  src: url("fonts/opensans_extrabold_french.eot?") format("eot"),
       url("fonts/opensans_extrabold_french.ttf") format("truetype"),
       url("fonts/opensans_extrabold_french.woff") format("woff"),
       url("fonts/opensans_extrabold_french.svg#opensans_extrabold") format("svg");
}
These four fonts must then be placed in font-stacks, which will be used by the CSS. Let us add a monotype present on user systems.
$font-extrabold : "opensans_extrabold", sans-serif;
$font-bold : "opensans_bold", sans-serif;
$font-regular : "opensans_regular", sans-serif;
$font-light: "opensans_light", sans-serif;
$font-teletype : "Courier New",Courier, "Lucida Sans Typewriter",monospace;
Using a vertical rhythm
If we use Compass and Normalize, we have two options for setting up and managing a vertical rhythm. If you have never heard of vertical rhythm do not hesitate to get closer to Shelly Wilson’s article – 4 Simple Steps to Vertical Rhythm.
Using Compass
Compass proposes a vertical rhythm which is interesting to use, it can quickly set it up, on the one hand by importing the necessary libraries and on the other hand by activating a basic typo, spacing and invoking mixin ad hoc. Do not hesitate to discover the sunliness of this article by bringing you closer to the article by Zell Liew – Compass Vertical Rhythms.
You can also take advantage of the opportunity to also use the mixin placing lists in horizontal, ready to receive menu bars.
So on the main styles.scss file
@import "compass/typography/vertical_rhythm";
@import "compass/typography/lists/horizontal-list";
And on the _sass-variables.scss ;
$base-font-size: 16px;
$base-line-height: 24px;
@include establish-baseline;
Using Normalize
For its part, Normalize also integrates a management of vertical rhythm and care must be taken not to distort its possibilities, see on this subject article by Jonathan Lehman – Groove to a vertical Rhythm.
Either way you use either think of setting it up and setting it up at this stage of the preparation.
Adapt the architecture of existing sites
Whatever the type of work, it is enough to first prepare the architecture of empty files on which we wish to rely.
Then, and in the case of a site recovery project, containing one or more CSS files already active, simply rename the existing *.css file (s) to * .scss, and to prefix their file names with an underscore.
file.css -> _file.scss
Also, do not forget to add their import to the list of imported files at the main styles.scss file.
@import ‘file’ ;
It is important to note that in using scss, we could just as well import the files directly in *.css format, but this will prevent us from possibly using SCSS syntax within them.
The presence of the underscore will simply tell Sass to treat these files as _partials.

2 Responses
[…] First steps and files […]
[…] First steps and files […]